Lenz's Law: Time Warp Tube
Electricity and magnetism are two sides of the same coin—a changing electric field creates a magnetic field, and a changing magnetic field creates an electric field. One of the best ways to illustrate this relationship is to drop a strong magnet through a conductive pipe; the magnet will descend lazily, thanks to the electrical currents it creates on its trip, and the magnetic repulsion that those currents create in turn. In this version of the demonstration, the conductive pipe is split up; this way, we can see the magnet as it falls without having to peer down the pipe from above, and play with the spacing of the conductive bits to explore acceleration, electricity, and magnetism all at once!
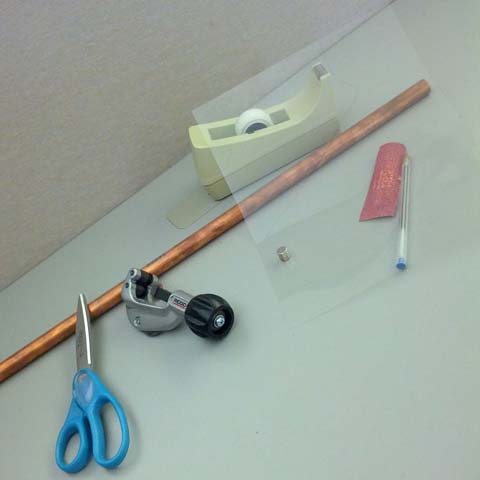
What you'll need:
- several small rare earth magnets
- an "overhead" projector transparency sheet
- scissors
- a length of copper pipe, at least 6 inches long and not much larger in diameter than your magnets (we used 1/2" pipe)
- a pipe cutter intended for metal (do not use one intended for PVC—it will ruin the cutter!)
- a ruler (not shown)
- tape, sandpaper, and a pen (optional)
What to Do
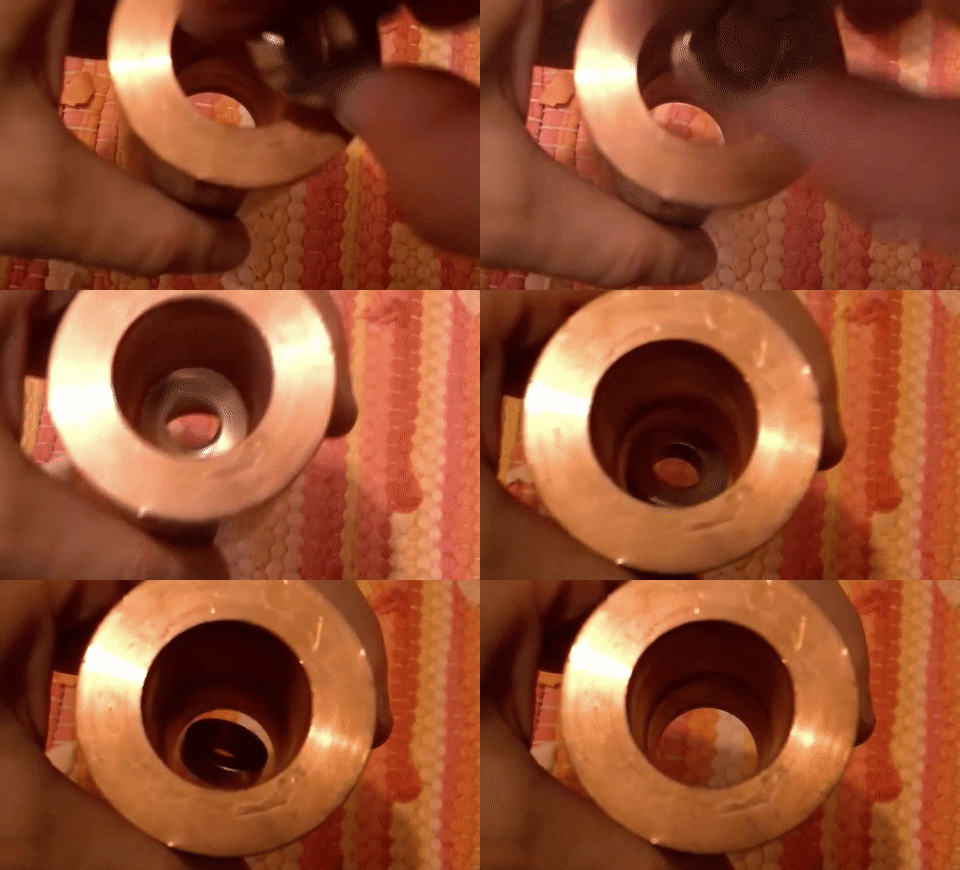
First off, it's good to get an idea of the effect you're going to be seeing once you're all done—start by dropping the magnets down the pipe and watching their slow fall from above. Notice that the magnet isn't attracted to the copper pipe the way that magnets stick to metals like iron.
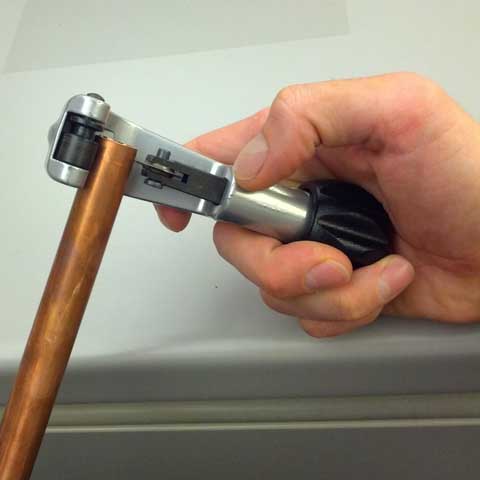
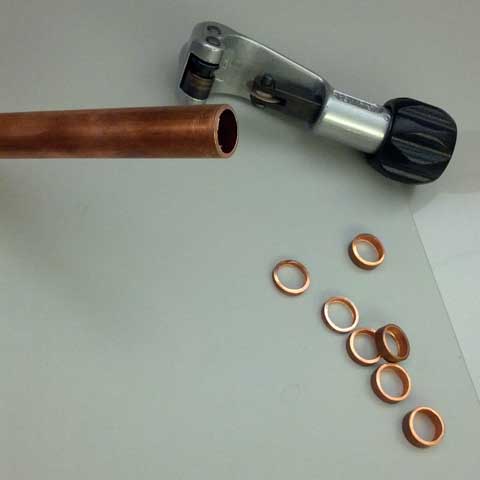
Once you've done this, start by cutting the pipe into short, ring-like segments, half a centimeter to a centimeter long. For a polished final product, you can measure and mark the pipe to ensure that all the rings are identical in size, but it's not necessary for the demonstration. If you have sandpaper, use it to smooth the interior edges of the copper rings; this will make it easier to slide the rings onto the tube later, and prevent sharp bits from scratching the plastic. If your pipe is too small to fit your fingers into, tape the sandpaper to the barrel of a pen, and use that. Cutting and sanding metal should generally be done outside when possible, and you should wash your hands afterward.
The more rings you cut, and the thinner you make them, the more effective the tube's fall-slowing capabilities become; we've found 25 to be a good number for a tube made from a standard 9"x11" transparency sheet.
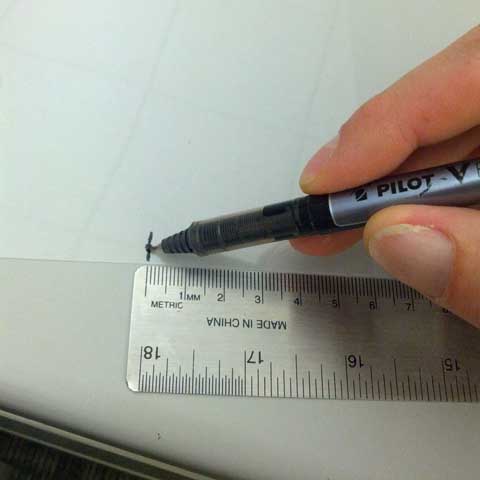
Next, you'll want to cut your transparency sheet into a long, thin-ish strip that can be curled up into a tube. For pipe with an interior diameter of 1/2", we've found that a 6 cm-wide strip of transparency works nicely, but you may have an easier time curling it into a tube if it's wider. Mark your sheet at the top and bottom, the same distance from the edge, and use the ruler as a straightedge to connect the two points.
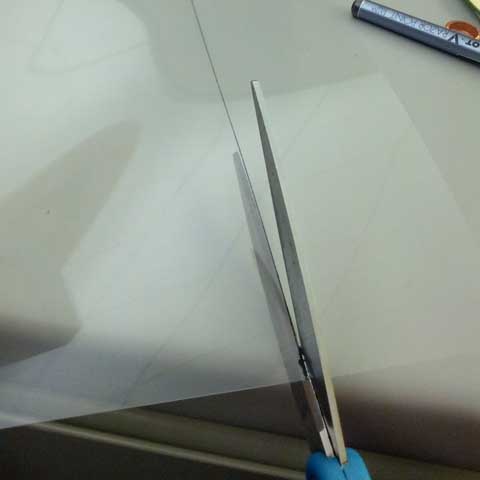
Then, cut carefully along that line to produce your transparency strip.
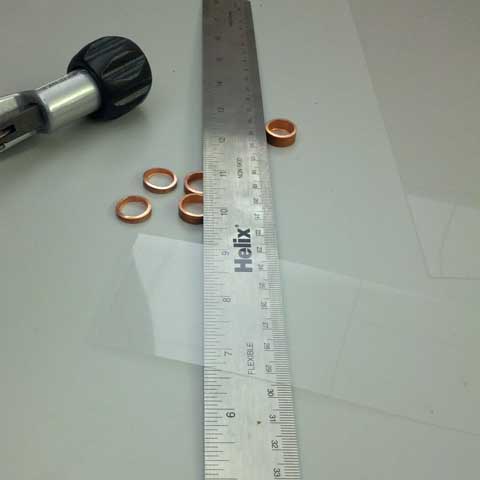
Now it's time for the hard part—curl the transparency strip into a tube, before placing one of the rings around the end to keep it in shape. The other end of the tube will want to unfurl, so you'll have to keep it tight in your hand until you get enough rings on the tube to ensure that it's stable. Slide each ring onto the end and, as you do, bump the others down. Five or six evenly spaced rings should be enough to keep the whole thing from unfurling, but you'll need more than that to really see Lenz's law at work here.
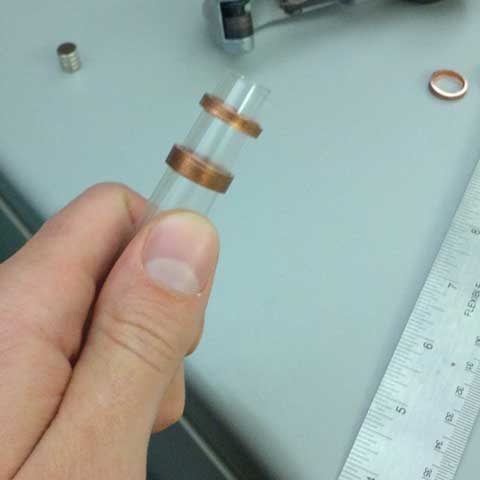
Keep it up until you've got rings evenly spaced over the full length of the tube, and you're all done!
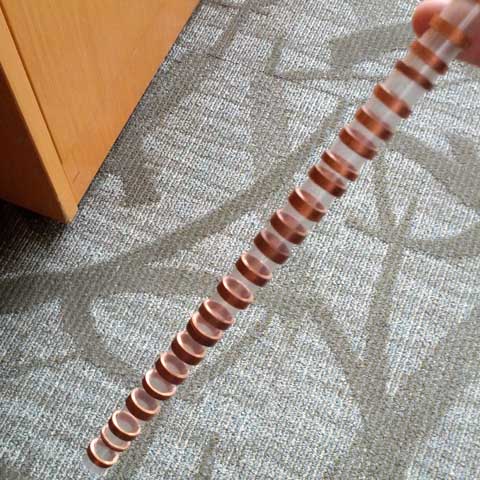
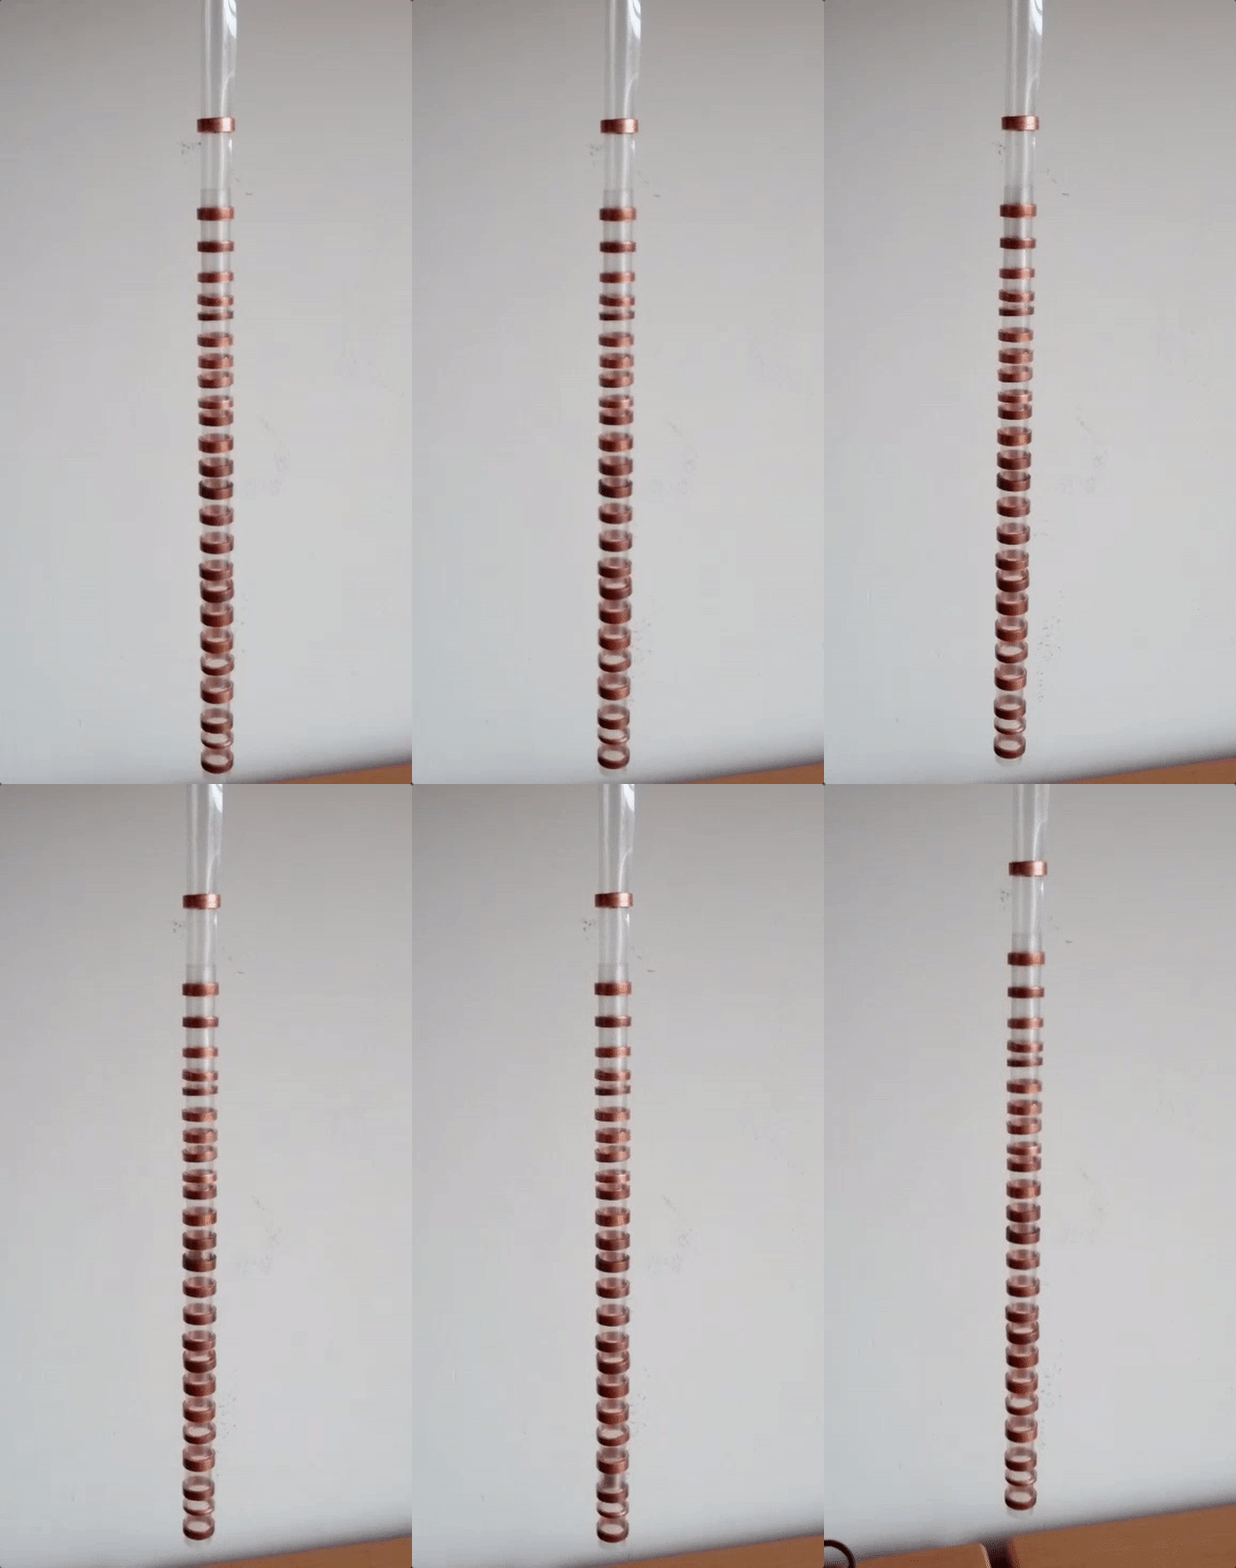
Now, holding the tube vertically and dropping the magnet down it, you can see electromagnetism in action!
What's Going On?
When a conductive object like the copper pipe feels a changing magnetic field, a loop of electric current is created in it. Since a magnet's field gets stronger the closer you are to it, each ring on the tube experiences a growing magnetic field as the falling magnet approaches it. This creates an electric current, which—as mentioned at the beginning—creates a magnetic field of its own as it grows and then shrinks in intensity! The magnetic field created by this electric current repels the magnet from below, and attracts it from above, creating the slow-fall effect.
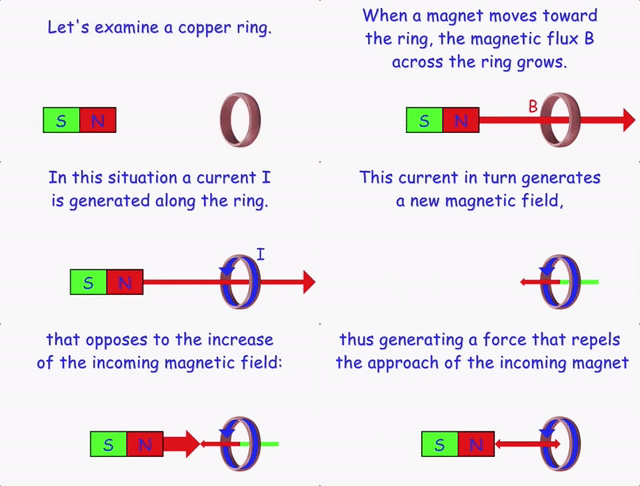
Image Credit: Youtube user Aldoaldoz
Since the strength of this effect depends on how fast the magnet is moving, there's no way to stop or levitate something using it, but it's perfect for slowing things down. Using alternating current, however, and a rapidly-changing magnetic field, it's possible to make conductive objects float.
Apply It!
Try tilting your tube to an angle before dropping the magnet, or making two tubes joined end-to-end, to see the effect better.
Does the tube seem to gain weight when you drop the magnets into it? Play with the spacing of your rings; try putting them all in two large bunches, with a gap in the middle, and see if you can notice the effect.
-Stephen Skolnick


